Before and After Reels for Hairstylists and Barbers
The chair is your fixed mark and wet hair is the tell that gives you away. A method for a matching pair between the last snip and the door, in the time you already have.
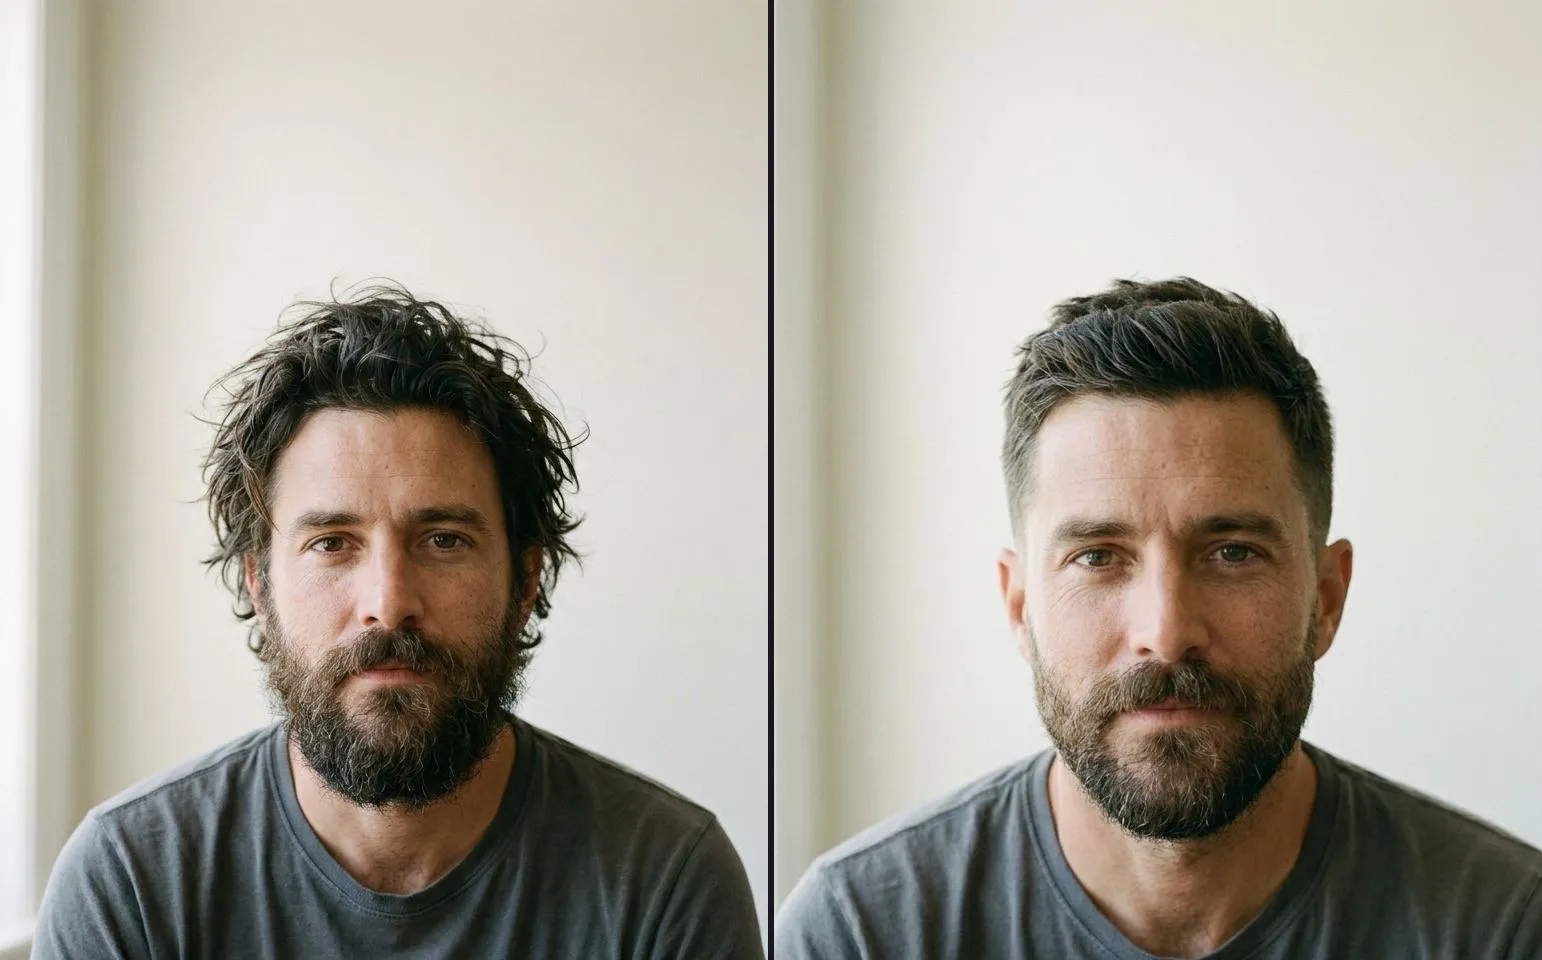
The blow dryer is still warm, the client is checking the back in the mirror, and you have maybe ninety seconds before the chair needs to turn over for the next appointment. That window is the whole opportunity. Miss it and you are reconstructing the before from memory, or worse, from a phone photo someone took for reference three shampoos ago.
Hair is the largest trade audience on this site for a reason: nearly every appointment produces a genuine before and after, and nearly every salon photo of one still manages to not quite match. The fixes are small and they all happen before the first photo, not after it.
Wet hair is the tell that gives you away
The single most common mistake in this trade is a wet before next to a dry after. It happens because the before is easy to grab the moment the client sits down, hair still damp from the wash, and by the time the after is ready the blow dry has done its own transformation on top of the cut or colour.
Wet hair sits flatter, reads darker, and shows none of the volume or movement the finished style will have. Put that next to a dry, styled after and the viewer is not comparing a haircut, they are comparing wet hair to dry hair, and the cut gets credit for work the blow dryer did. It is an honest mistake and it still undercuts the actual skill in the room.
The fix is to towel and rough dry the before properly before you shoot it, even if that costs you two extra minutes at the start of the appointment. If a client arrives already towel dried and you genuinely cannot wait, say so in the caption rather than let a damp before imply more change than the service made. That one line of honesty costs you nothing and it is the difference between a pair that holds up and one that reads as a trick the moment someone who cuts hair for a living looks at it.
The chair is the fixed mark
Every craft guide on this site starts with the same instruction: pick a spot, mark it, and stand there twice. In a salon you already have that spot. It is the chair.
Same seat, same height setting, same lamp on, and the pair matches without anyone measuring anything or taping a mark to the floor. The chair does not move between the before and the after, which means the one variable that wrecks most trade photography, a different standing distance, is already solved by the layout of the room. What is left for you to fix is your own position relative to it: pick a distance from the chair that reads well for a head and shoulders frame, and use it every time.
Height matters as much as distance. If the chair pumps up and down during the service, note where it ends up for the after and bring it back there, or shoot the before at that same final height rather than wherever it happened to be when the client first sat down. A before shot looking slightly up at the client and an after shot looking slightly down at them is a small mismatch that still reads, even if nobody watching could tell you why.
Colour needs the same light twice, more than a cut does
A cut changes shape. A colour changes, well, colour, and colour is the one property in a photograph that a window and a ring light will not agree on. Daylight through a window is cool and shifts through the day. A ring light or a salon’s own overhead fittings run warmer and stay constant. Shoot the before near the window at eleven in the morning and the after under the ring light at half past, and the blonde in the after is not lying, the light just changed what blonde looks like.
For any colour service, pick one light source and use it for both frames, and if you can manage it, close the gap in time as well as keep the source constant. A colour appointment often runs long enough that the light outside genuinely moves, in which case the salon’s own fittings, kept at a fixed brightness, are the more reliable choice of the two. A cut alone is more forgiving of this, because shape reads clearly under most light. Colour is the service where getting this wrong costs you the most, so treat it as the strict version of the same rule rather than a separate one.
Choosing how the pair is shown
A head and shoulders frame is a tall subject, not a wide one, which puts most of this trade’s pairs in Side by Side or Slider rather than the modes built for a driveway or a room. Side by Side works well for a still you are posting to a feed or a profile, both frames visible at once, easy to study. Slider is the mode built for a reveal video, and it happens to suit a haircut naturally: a straight line moving across the frame, dull hair on one side and the finished style on the other, which is close to what actually happened under the scissors.
Tap to Switch is worth knowing for a colour close-up on a small screen, where a viewer can tap through the two frames at their own pace rather than watch a timed wipe. That comparison mode is honoured fully in the app’s image export today, so it is a safe choice for a still pair even before it reaches a full reveal video.
If the client would rather their hair was shown than their face, crop to the hair itself: the nape, the crown, the colour block, shot from behind or from an angle that keeps the face out of frame. It solves a real consent question a lot of stylists have quietly worked around by cropping tighter than they think they’re allowed to, and a tightly cropped colour or texture shot is often the stronger post anyway.
Turning the pair into a post
Once you have a matched before and after, the flow is the same whatever the service was. Pick the two photographs, choose Side by Side, Slider or Tap to Switch depending on the shot, choose how the reveal plays if it is a video, set the length, and export at the ratio the platform wants, 9:16 for a Reel or a Story, 1:1 for a grid post.
The free tier is worth knowing exactly, rather than discovering at the export screen. Free gives you three exports a day, each behind a short ad, watermark on, 9:16 and 1:1 only, Slider Reveal as the only reveal on video, and no music. What is free and completely ungated is everything that actually matters for shooting the job properly: every comparison mode including Side by Side and Tap to Switch, every filter, the full sticker set, the label editor, your salon name and logo on the frame, Ghost Camera, saved projects, and all ten app languages. That second list is the one worth leading with, because it covers the whole method above without a paywall in the way.
Hair Warm suits a warm, editorial finish for a cut or a colour reveal. Dark Salon is built for a moodier, night-shop feel that a lot of barbering content leans into. Blond Minimal is the plainer option, useful when the colour itself should carry the post without much frame around it. All three sit in the niche category, alongside the rest of the trade packs the app ships.
Where to check the pair before you post it
Before committing to a video, it is worth dragging the pair through the free before and after slider on this site. It runs entirely in your browser, nothing leaves your device, and it is the fastest way to see whether a pair actually holds together. A chair-anchored pair, shot under one light with the client’s head in roughly the same position, will sit steady as the handle moves. If it jumps, the mismatch is almost always the wet hair, the lighting, or the chair height, and the fix is on the next shoot, not in the app.
If a pair still looks off after checking it against those three, why your before and afters look fake walks through the seven usual causes, because a colour appointment can trip more than one of them at once.
The habit, not the tips
None of the above is a checklist you run through once. It is a chair, a light, and thirty seconds of drying the before properly, repeated on every appointment until it stops being a decision and starts being how you shoot. That is worth more than any single template, because a mismatched pair looks the same in every template on the site and a matched one looks good in most of them.
Hair produces a genuine before and after on nearly every visit, which is more than most trades on this site can say. The only thing standing between that and a week of content is the ninety seconds between the last snip and the client checking the mirror, spent the same way every time.
If you want the caption and hashtag rotation the barbering and salon community actually uses, five tags at a time rather than a pasted block of thirty, the hairstylists and barbers hashtag page has the current pool for Instagram and TikTok. The federal wage numbers behind the trade, if you want the counts rather than the vibe, are on the barbers data page. And for the full method behind matching any two shots, not just the ones taken minutes apart at the chair, how to take matching before and after photos has the complete version. If you have not shot a pair on the app yet, the app is the free download the rest of this page assumes.
Common questions
- Why do wet hair before photos look wrong in a before and after?
- Wet hair reads as a different colour, a different volume and a different shape from dry hair, so a wet before beside a dry after looks like two different heads even when the cut is identical. Towel dry the before properly, or if the client walked in already wet and you cannot wait, say so in the caption rather than let the pair imply a bigger change than the cut made.
- Where should I stand to get a matching before and after in a salon?
- At the chair, which is the one spot in a salon that does not move. Fix your own standing distance from it, fix the chair height, and fix which light is on, window or the salon's own fittings, and use the same three for the after. The chair does the marking for you so you are not pacing out a spot on a busy floor.
- Does colour work need different lighting rules than a cut?
- The same rule, applied more strictly. A colour result is a colour, and a window disagrees with a ring light about what blonde actually looks like. Shoot the before and the after under the same single light source, at the same time of day if you can manage it, because colour is the one service where a lighting mismatch reads as a different result rather than a slightly different photo.
- Which comparison mode works best for a haircut reel?
- Side by Side or Slider both suit a person, because a head and shoulders is a tall subject rather than a wide one. Slider is the mode built for a reveal video, and a straight wipe down the middle mirrors what actually happened, dull hair on one side of the line and the finished cut on the other.
- Can I post a before and after without showing the client's face?
- Yes. Crop to the hair, the nape, the colour itself, or shoot from behind. A lot of the strongest salon content on this site's templates is already cropped that way, and it sidesteps the consent question for clients who are happy to have their hair shown but not their face.