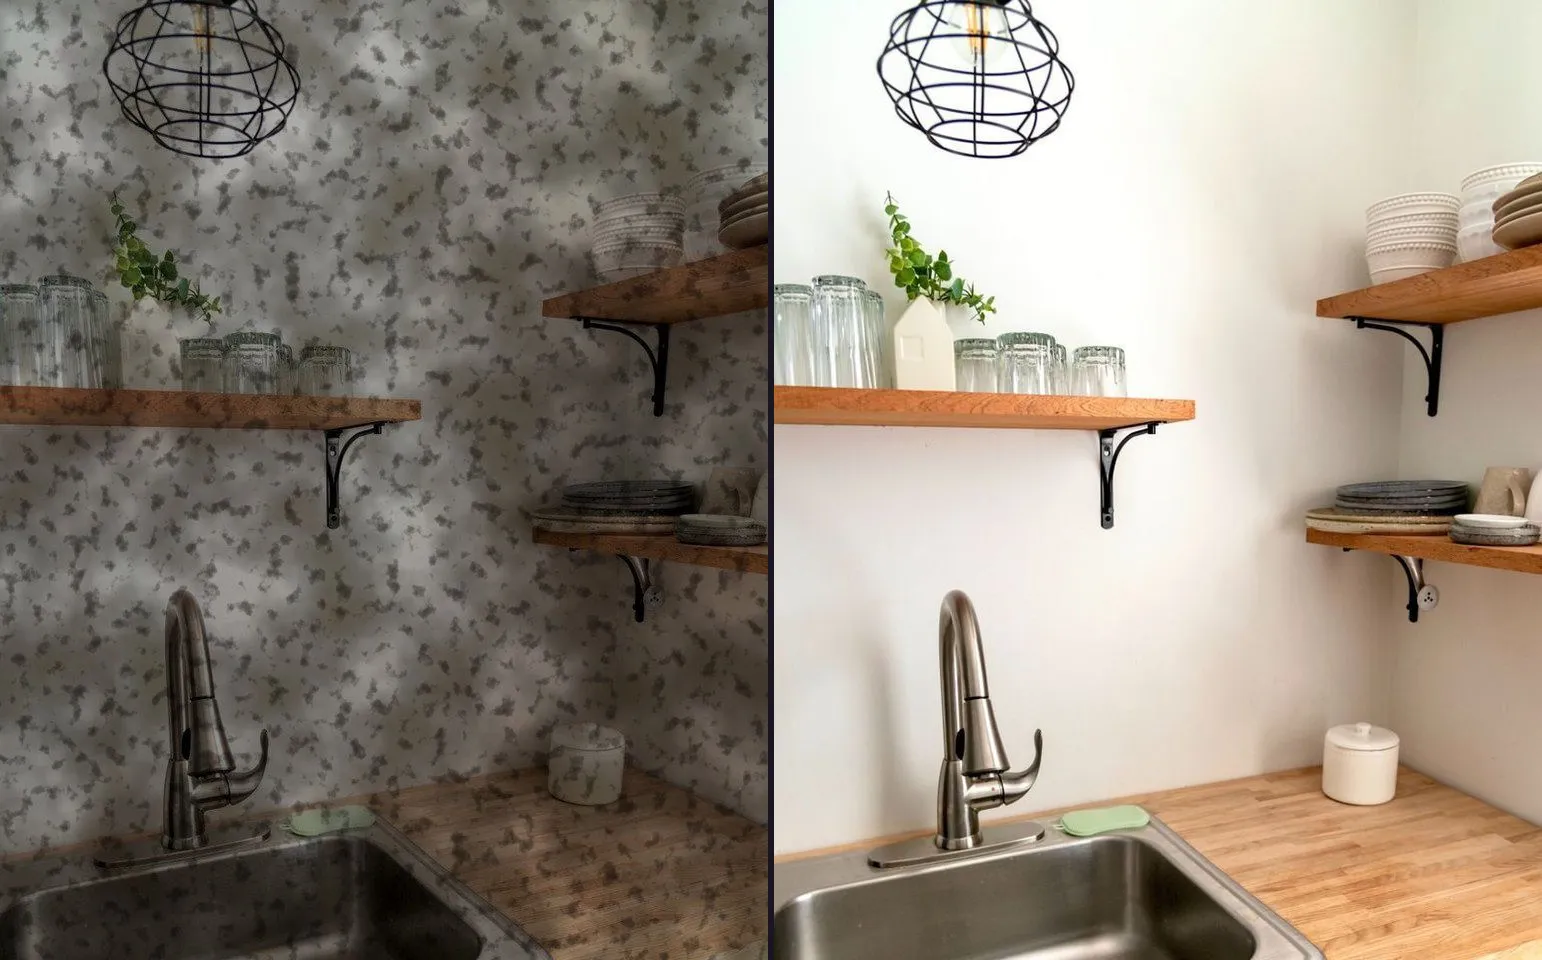
Renovation Before and After Videos for Contractors (Shot by Whoever Opens the Door)
The renovation before does not survive being an afterthought: whoever unlocks the site on day one has to take it, because by week two there is nothing left to photograph. What actually stays fixed through a gut job, and why the pair belongs in the estimate as well as the feed.
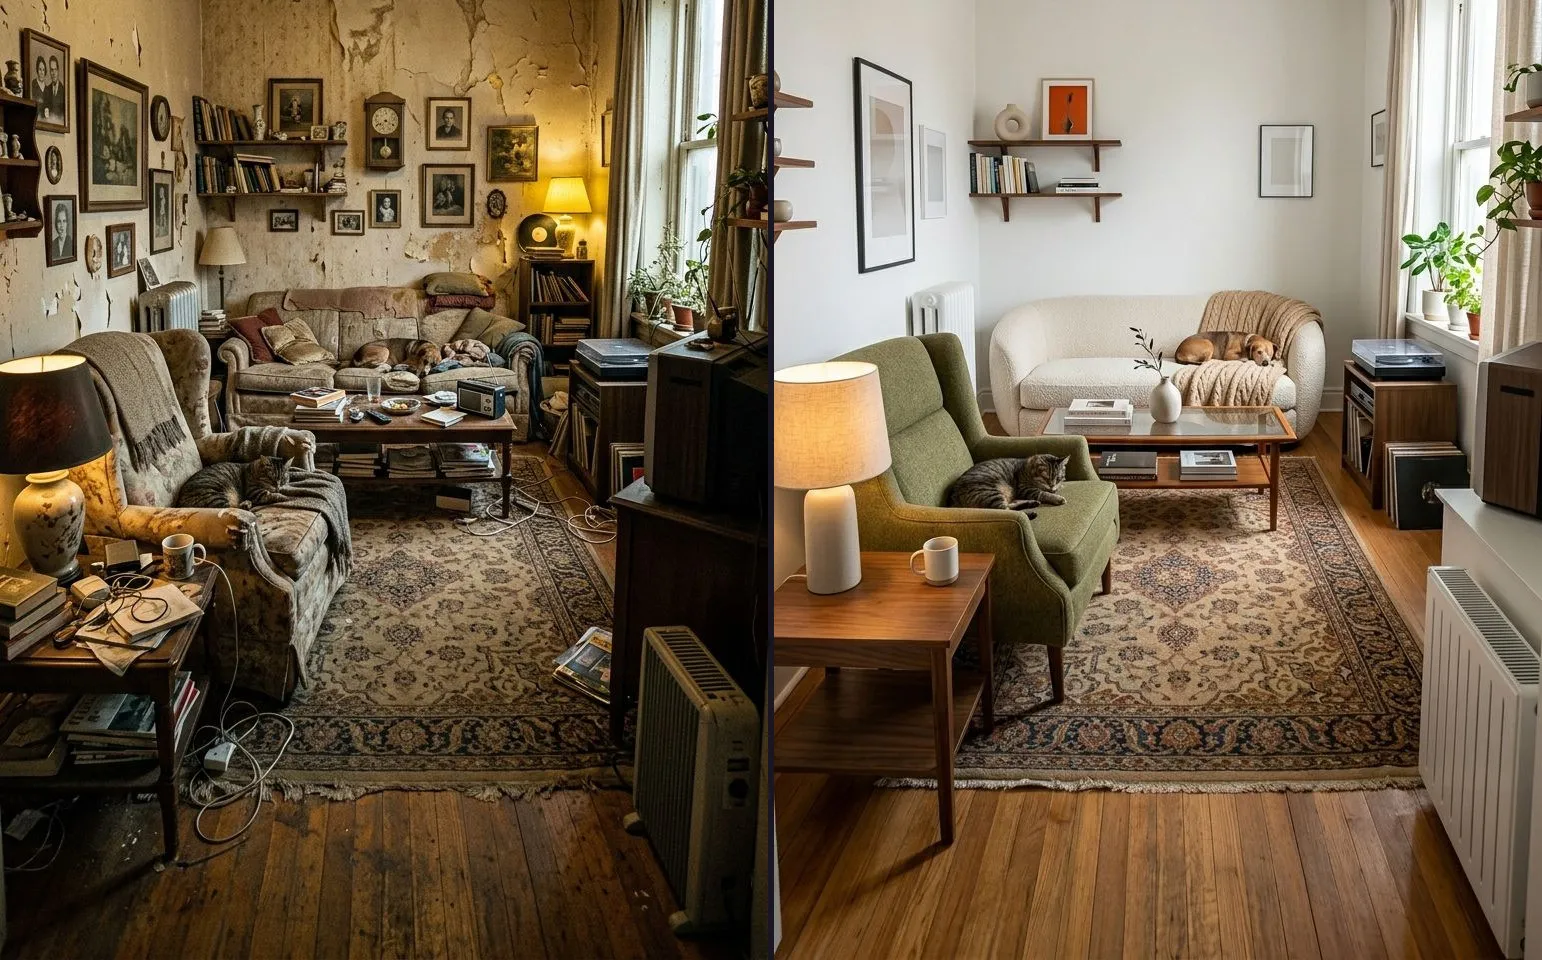
The client hands you the keys at seven in the morning, the crew is already carrying tools up the front path, and somewhere in the next ninety seconds the room stops being a before. Nobody on site was thinking about content. They were thinking about where the skip bin goes and whether the flooring delivery is on schedule. By the time anyone remembers a photograph would have been useful, the drop sheets are down and the room has already changed.
This is the trade with the highest job value on this site and the least room for error in how the before gets taken, because a renovation is the one job here that genuinely cannot be reshot. A driveway can be re-wetted for a second attempt. A garden clearance leaves the fence post standing where it always stood. A gutted kitchen leaves nothing: once the old cabinets are in the skip, there is no walking back in tomorrow to get a better angle on them.
The before is a crew habit, not a marketing task
Every other trade on this site can afford to treat the before photo as something the business owner remembers to do. Renovation cannot, because the person who unlocks the site on day one is rarely the person who runs the Instagram account, and the gap between those two people is exactly the gap that loses the shot.
The fix is not a better reminder. It is moving the photograph earlier in the job than the marketing decision. Whoever has the keys on the first morning takes it, the same way they would take a photo for the insurance file or a measurement for the material order: because it is a step in the job, not a task that happens if there is time. If your crew already photographs a site before they touch it, for their own record of existing damage or existing condition, that habit is the same one this needs. It just needs to be repeatable enough that the after can be lined up against it eight weeks later.
Say this to the crew plainly rather than assuming it is obvious: the photo has to happen before the tarps go down, not after the first wall comes out and someone remembers the job might be worth posting. A before taken on day three, once the room has already been stripped back, is not a before of the room the client called about. It is a before of the demolition, and it tells a different, smaller story.
What actually stays fixed through a gut job
Every guide on this site about matching a pair comes back to finding something in the frame that cannot move and lining the camera up against it. Renovation makes that harder than any other trade here, because the things that usually serve as an anchor, a cabinet edge, a light fitting, a section of wall, are frequently the entire point of the job and will not be there for the after.
What does survive, almost always, is the shell. The exterior walls. The window and door openings, even if the frames themselves get replaced, the hole in the wall stays where the hole in the wall was. The ceiling height, unless the job specifically raises it. A structural corner, as opposed to a partition wall that might come down entirely. Frame your standing spot against one of those rather than against anything that could plausibly be on the quote as something to remove or replace.
In practice this usually means standing in the doorway and shooting straight into the room, the same fixed mark that works for a kitchen or bathroom clean, because it is nearly always the one spot you can occupy in both the before and the after without a wall or a cabinet being in the way of where you are standing. Note which door frame you used, since on a full gut job even that sometimes moves. If it does, the ceiling line and the exterior wall are what is left, and they are usually enough.
The standing spot goes in the job file, not in your head
A driveway job runs a morning. A renovation runs weeks, sometimes months, and the crew on day one is frequently not the crew who finishes the job. That combination breaks the usual advice to just remember where you stood, because nobody who was on site for the before photo may still be on site for the after.
Write the standing spot down at the time, the same way you would write down a measurement you needed six weeks later: where you stood, how high you held the phone, how far back you were, and which door frame or corner you used as the reference. Put that note where the job’s other paperwork lives, in the project file or the job folder, not in a text thread that will be scrolled past by the time it matters. The same-angle guide covers this in more depth, because a gap measured in weeks is exactly the problem it was written for, including how to use the before photograph itself, rather than a memory of it, to reconstruct the shot when the day comes.
Our app’s saved projects help here in a small but real way: the before photograph and its pair stay together in the app with a thumbnail, so whoever picks the job back up in week six can open it and see the actual frame rather than a written description of one. It will not tell a new crew member where you stood if nobody wrote that down, but it does mean the photograph itself is never the thing that goes missing.
If the light has shifted by the time the after is due, whether that is hours later on a long day or weeks later at handover, Ghost Camera is the app’s free feature for lining the second shot up against the first: it overlays the before photograph on the live viewfinder at an opacity you set yourself, so the door frame in the ghost lands on the door frame in front of you before you press the shutter.
A kitchen or bathroom pair carries more than a whole house
Not every part of a renovation is worth shooting, and a whole house photographed wide from one spot is usually the weakest choice available, even though it can feel like the obvious one. A wide shot dilutes the change: the parts of the frame that did not need doing sit next to the parts that did, and the result reads as a smaller job than it was.
A kitchen or a bathroom, shot from the doorway, carries the story on its own. Those are the two rooms a prospective client already has in mind when they picture their own renovation, whether or not the job you are showing them is the same size or the same budget as theirs. Treat the room as the lead pair, and use a wide shot of the whole space, or the exterior, as a second, supporting photograph rather than the one doing the work.
This matters beyond the feed. A renovation is the highest ticket job on this site, decided over weeks of conversation rather than an impulse booking, and the pair earns its keep twice: once as a post, and again inside the quote or the proposal you send a prospect who is still deciding. A kitchen before and after dropped into an estimate document does something a written description of “similar past work” cannot, because the client is looking at the actual shape of a transformation rather than reading a claim about one. If you are already building the pair for social, exporting the still image and attaching it to the next quote costs you nothing extra.
Turning the pair into a post
Once the before and after are matched, the flow is the one every trade on this site uses. Pick the two photographs, choose a comparison mode, choose how the reveal plays if you are exporting a video, set the length, and export at the ratio the destination wants.
For a doorway shot, which usually comes out tall rather than wide because most rooms photograph that way from a standing spot in the frame, Side by Side and Slider both read cleanly as a still image, and Slider Reveal is the mode that currently exports correctly as a moving video. For a wide exterior or a room shot from further back, Top and Bottom keeps the full width of both frames visible rather than splitting them down the middle, though that is a choice for the still image only: the video exporter currently takes its layout from the reveal animation rather than the comparison mode, so a Top and Bottom video is not available yet.
The free tier is worth knowing exactly, because a contractor posting every finished job will feel its limits faster than most trades on this site. Free gives three exports a day, each behind a short ad, with a watermark on, 9:16 and 1:1 only, and Slider Reveal as the only video reveal, with no music. What is free and completely ungated is everything the method above actually needs to build the pair in the first place: every comparison mode including Top and Bottom, every filter, the full sticker set, the label editor, and your business name and logo on the frame. None of that sits behind the paywall, which means the part that costs you something is exporting more than three finished posts in a day, not building them.
The look for a high-ticket job
Renovation is the app’s dedicated template for this trade, a dark, structured frame built for exactly this kind of reveal. If you want something free and still credible, Pro Brand carries a plainer, business-forward look that does not compete with the room itself, useful on a job where the photograph needs to do the talking rather than the frame around it. Corporate is worth reaching for if the post is going out under a company name rather than a personal one, since it reads closer to a business’s own branding than a social template does. All three sit inside the social, professional and brand categories, if you want to see what else is in each.
Check the pair before you build around it
Before committing to a full post, or attaching a pair to a quote, it is worth checking that the two frames actually hold together. The free before and after slider runs entirely in your browser: drop in the two photographs, drag the handle, and nothing leaves your device. If the door frame or the ceiling line jumps as the handle passes over it, the mismatch happened in the shoot, and it is far cheaper to catch that before the pair has already gone into a proposal a client is reading.
The photograph you owe the job on day one
A renovation is unforgiving in a way none of the other trades on this site are: there is exactly one morning when the room still looks like the room the client called about, and once it is gone, no template and no editing choice brings it back. Make the before photograph part of what happens when the site is unlocked, anchor it against the shell rather than anything the job is going to remove, and write the standing spot down somewhere the whole crew can find it, not just the person who took the first shot.
Do that once and the rest is the same process every trade on this site follows: pick the pair, choose how it reveals, export it at the size the job needs, whether that is a Reel, a listing, or a photograph inside the next quote you send. If you post this kind of work regularly, the renovation contractors hashtag and caption page has the current rotation, including a warning about which remodel-adjacent tags are worth avoiding. The residential remodellers data has the federal counts behind the trade, including just how small the average crew running these jobs actually is. And if this is the first job you are documenting with a phone rather than reaching for an editor weeks later, the app is the free download the rest of this page assumes.
Common questions
- Who should take the before photo on a renovation job?
- Whoever unlocks the site on day one, before the first tarp goes down or the first tool bag opens. It cannot wait for whoever runs the business's social media, because that person is rarely on site at seven in the morning, and by the time they arrive the crew has already started moving material through the space. Treat it the same way you treat a site photo for insurance or a measurement for the quote: a step in the job, not a task for later.
- What can I actually use as a fixed reference point in a full gut renovation?
- The things a renovation does not usually move: the exterior walls, the window and door openings, and the ceiling height. Cabinets, fixtures, flooring and even internal partition walls are frequently the whole point of the job and cannot be trusted to still be there for the after. Stand where you can frame the room against an opening or a corner that is structural rather than cosmetic, and that framing will usually survive whatever the crew does in between.
- Should I photograph the whole house or one room?
- One room, and usually the kitchen or the bathroom, because those are the two spaces a prospective client actually pictures when they picture their own renovation. A whole house shot wide loses the detail that makes a viewer stop scrolling, and it is far harder to repeat from the same standing spot once furniture, trades and materials have moved through the space for weeks. Shoot the room that carries the job, and treat a wide exterior shot as a second, supporting photo rather than the lead image.
- How do I keep the standing spot consistent when the crew on day one isn't the crew on the last day?
- Write it down and file it with the job, not with a person. A phone note with the spot, the height, the distance, the lens and the light, saved into the same folder as the quote and the photos themselves, survives a change of crew. A memory does not. Our app's saved projects keep the before photograph with its pair, so whoever picks the job back up in week six can open it and see exactly what the first photograph looked like rather than relying on someone's recollection of where they stood.
- What comparison mode suits a renovation before and after?
- Side by Side or Slider for a room shot from a doorway, since those frames come out tall rather than wide and both modes read cleanly in that shape. Top and Bottom for a wide exterior or a whole room shot from further back, since stacking the full width of the before over the after keeps more of the room visible than splitting the frame down the middle. The app's image export honours all four comparison modes today; for a moving reveal video, Slider Reveal is currently the one that exports correctly, because the video exporter still takes its layout from the reveal animation rather than the comparison mode.
- Is the free tier enough for a contractor to actually use this?
- For building the pair itself, yes. Every comparison mode, every filter, the full sticker set, the label editor, and your business name and logo on the frame are free and completely ungated, which covers everything the method in this guide needs. What is gated is exporting: three exports a day, each behind a short ad, with a watermark on, and only 9:16 and 1:1 ratios with Slider Reveal as the only video reveal. That is enough to post a job here and there. A contractor posting every completed job will hit that ceiling.